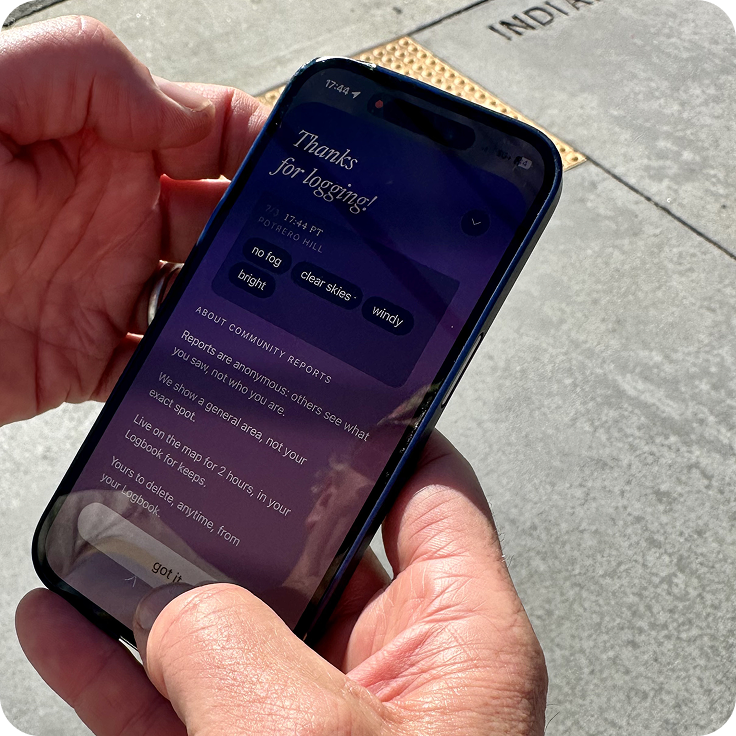
Community Fog Reports: How-to Guide
Foggy is different from traditional weather apps because of community reports from members across the Bay Area sharing real-time fog conditions. But despite our name, Foggy isn’t just for grey days. Achieving full fog awareness means understanding where it’s foggy, and also where it isn’t. So whether you’re socked in or seeing clear blue skies, your report helps others understand what to expect in our many different microclimates.
Some people are fog seekers and others are looking for the sun. That’s why Foggy’s community reporting tool includes “no fog” and “clear skies” as options in addition to fog descriptors like “moving fast” and “windy.”
No need to be shy or feel like you have to wait for the right kind of weather to participate – it’s helpful when you go ahead and add your report to the map, no matter the weather.
Here’s a step-by-step rundown of how to add your own community reports to Foggy.
Step 1: Look at the sky.
Whether you’re peering out the window first thing in the morning, out for a walk in your neighborhood or across town running an errand, we encourage you to take a moment for yourself to slow down, look up and notice the atmospheric conditions around. This step is key.
Step 2: Open Foggy and begin a report.
If you have location services enabled, you’ll see a round button with a + (plus sign) in the center. Tap the icon to start your report. This opens the community reporting tool and will show you a bank of terms you can use to describe what you’re experiencing.
Reminder: we never show your exact location, just a general area or neighborhood where the report is coming from - and your reports are completely anonymous.
Step 3: Choose terms that match what it’s like where you are.
This is a multiple choice exercise, but it’s not a test! Choose up to seven of the terms Foggy provides to share a snapshot of the current conditions in your area. Single terms like “foggy” or “no fog” are useful, and so are mini vignettes like “moving in” + “at the fog line” + “windy” + “dark”. We each have our favorites. What’s yours?
Step 4: Submit your report.
Once you’ve chosen your terms, tap the button that says “share current conditions.” That’s it - you’ve now submitted a fog report and are helping unlock new levels of fog-awareness for your neighbors across the Bay Area.
A few things to keep in mind:
Fog and weather are highly subjective - that’s why we give you so many different terms to describe what you’re seeing and feeling. Someone else in your area might describe the conditions differently than you, and that’s fine. Overlapping or contrasting reports help reflect the nuance in the fog. So if your report feels right to you, it can’t be wrong.
Community reports are live on the map for two hours because fog moves fast and conditions can change quickly. No need to worry that your report isn’t “right” anymore just because the clouds are shifting. That’s just how it goes, and kind of the whole point. Your reports make Foggy special.
To revisit your past conditions reports, go to your personal Logbook in the Foggy app. Your records of submitted reports are there for your eyes only so you can reminisce, or delete, as you wish.
Still not sure how Foggy fits into your daily life? Check out our blog post on how our members have been using Foggy.
And if you have any suggestions for more terms we should add to our community reports, let us know by emailing us at support@foggysf.app. Have fun out there!
-The Foggy Team